


JINYUAN
JINYUAN
JINYUAN
JINYUAN
JINYUAN
JINYUAN
JINYUAN
JINYUAN
JINYUAN
JINYUAN
JINYUAN
JINYUAN
JINYUAN
JINYUAN
JINYUAN
JINYUAN
Content
- 1 What "Bay Lighting" Really Means
- 2 High Bay vs Low Bay: The Differences That Matter
- 3 Why Ceiling Height Sets the Rules
- 4 Wattage, Lumens, and Beam Angle
- 5 Color, CRI, and Controls
- 6 Mounting, Maintenance, and Access
- 7 Common Mistakes to Avoid
- 8 Lighting the Loading Dock and Apron
- 9 The Yard, Perimeter, and Access Roads
- 10 A Simple Way to Decide
Walk into almost any modern distribution center and you will see rows of fixtures suspended above the racking. Ask the maintenance manager whether they are high bay or low bay, and the answer usually comes down to one measurement: the distance from the fixture down to the floor. That single dimension shapes almost everything else, including wattage, beam angle, mounting method, and how much attention those fittings will need over the next ten years.
If you are specifying lighting for a new warehouse, upgrading an older one, or simply trying to settle a difference of opinion between two contractors, the notes below walk through the practical differences between high bay and low bay lighting, along with the questions worth answering before you place an order.
What "Bay Lighting" Really Means
The word "bay" comes from building construction, where it describes the repeated span between columns or roof beams. In a warehouse those spans are often 20 to 30 feet apart, and the lighting layout tends to follow the same rhythm: one or two fixtures per bay, row after row, aligned with the racking rather than with the walls.
High bay and low bay are therefore descriptive terms rather than formal categories. They tell you roughly where a fixture is designed to hang and how its light is shaped. High bay fixtures push a tighter, more concentrated beam down from a tall ceiling, while low bay fixtures spread a softer, wider pattern across a shorter distance. In practice, the industry has settled on a rough dividing line at about 20 feet, or six metres, though good lighting design treats that number as a starting point rather than a rule.
High Bay vs Low Bay: The Differences That Matter
Most of the comparison articles you will read cover the same handful of variables. Here they are in one place, so you can see how the two families of fixtures differ side by side.
| Feature | High bay | Low bay |
|---|---|---|
| Mounting height | 20-40 ft (6-12 m) | 12-20 ft (3.5-6 m) |
| Typical LED wattage | 100-400 W | 40-150 W |
| Typical lumen output | 15,000-50,000 lm | 5,000-15,000 lm |
| Beam angle | Narrow, 60-90 degrees | Wide, 90-120 degrees |
| Common mounting | Hook, pendant, bracket | Surface, chain, pendant |
| Best suited to | Tall racking, large open volumes | Lower ceilings, small stores, workshops |
Read those figures as a sanity check rather than a specification. A 24-foot ceiling in a building with low racking may behave more like a low bay space, while a 19-foot ceiling above a dense pallet store can still call for a narrow distribution and a higher output.
Why Ceiling Height Sets the Rules
Light falls off with the square of distance. Double the mounting height and you need roughly four times the output to hold the same illuminance at floor level, which is why high bay fixtures are built around higher wattages and tighter optics. It is also why simply swapping a low bay fixture for a high bay one, or the other way round, rarely produces a good result.
Put a high bay fixture under a 14-foot ceiling and you get glare, hard-edged pools of light between the racking, and shadows in the aisles. Put a low bay fixture at 30 feet and the light scatters long before it reaches the pallets, so you end up adding fixtures, circuits, and maintenance hours to compensate. Neither mistake is expensive to avoid at the design stage, and both are expensive to correct afterwards.
Wattage, Lumens, and Beam Angle
Beam angle is the variable that gets the least attention and causes the most complaints. A narrow 60-degree beam from a high ceiling keeps light inside the racking aisle where it is needed. A 120-degree beam from a lower ceiling covers a wider footprint without the harsh scalloping you see when a tight beam is mounted too close to the floor.
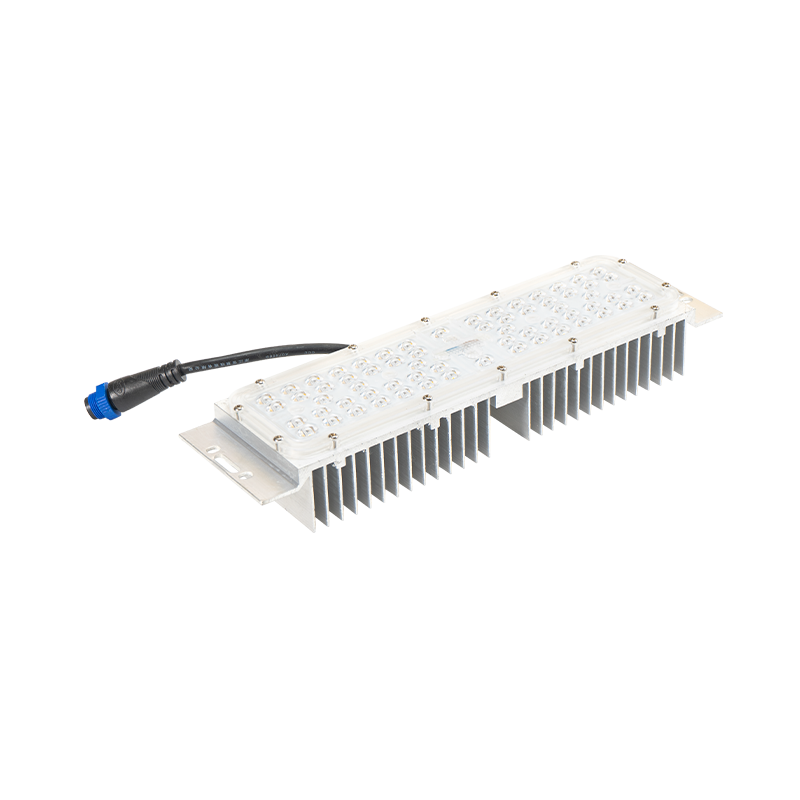
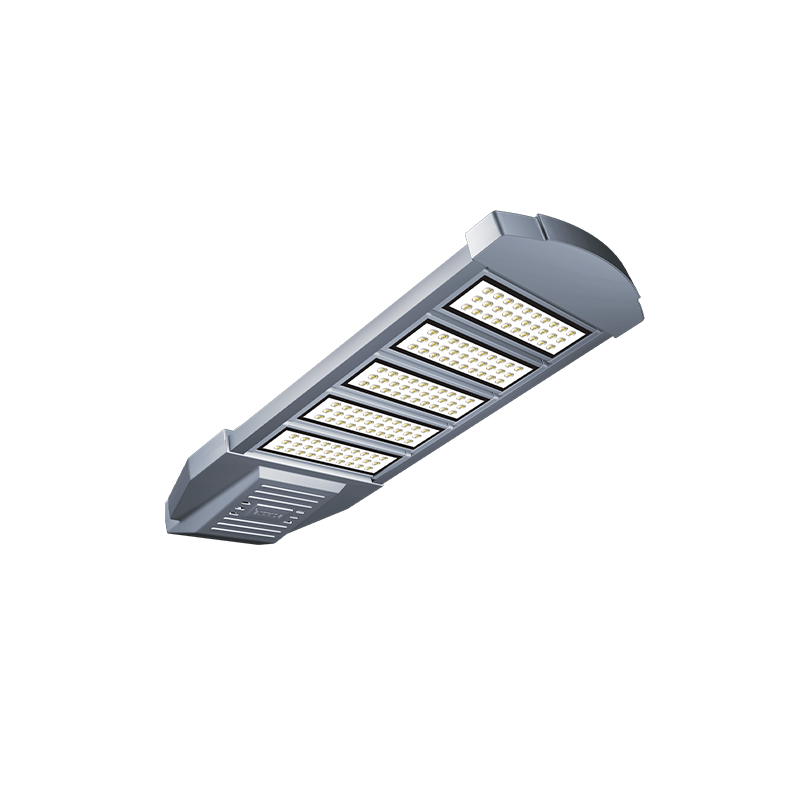
Optics matter as much as wattage here. Precision reflectors and lenses put the lumens where the layout needs them instead of spraying light onto the tops of racks. This is the same principle we apply to the industrial-grade LED module luminaires we build for large outdoor and semi-enclosed installations, where even distribution across a wide area is the difference between a usable space and a patchy one.
 Industrial-Grade LED Module Luminaires with Precision OpticsPrecision reflectors and four-module light distribution target even road illumination, while the modular aluminum housing supports heat dissipation and multi-angle pole mounting.View Product →
Color, CRI, and Controls
For warehouse work, 4000K to 5000K is the usual range. It reads as crisp and neutral, which helps staff pick labels and read paperwork, without the blue cast that makes some industrial spaces feel harsh. A CRI of 70 or above is generally adequate for storage and logistics; packing and inspection benches benefit from 80 or higher.
Controls are where the energy savings usually hide. Occupancy sensors in low-traffic aisles, daylight harvesting near skylights and dock doors, and scheduled dimming overnight can cut consumption substantially without anyone noticing a change in working conditions. The same sensor and dimming logic now sits inside our smart lighting controls for outdoor infrastructure, and it translates directly to indoor warehouse layouts.
Mounting, Maintenance, and Access
High bay fixtures are normally hung from a hook or pendant, which makes them easy to raise or re-aim when racking is reconfigured. Low bay fixtures are often surface mounted or chained directly to the structure, since the ceiling is within reach of a scissor lift or a step ladder.
- Allow enough clearance above the top of the racking so heat can escape and so nobody is reaching into a fixture during a pick.
- Fit safety cables on any suspended fixture, particularly in buildings with forklift traffic and vibration.
- Match the IP rating to the environment. Dusty or wash-down areas call for sealed housings rather than open frames.
- Check the ambient temperature rating. Unheated warehouses in cold climates and foundries in hot ones both punish the wrong driver.
- Keep a small stock of spare drivers and lenses. A five-year-old fixture with a discontinued driver is a costly problem.
Common Mistakes to Avoid
- Buying on price per fixture instead of cost per lit square metre, which ignores how many units the layout actually needs.
- Ignoring racking orientation. Aisles, cross-aisles, and staging areas rarely want the same distribution.
- Skipping the light level target. Decide the foot-candles or lux you need at the floor before choosing wattage.
- Forgetting maintenance access. If a fixture cannot be reached safely, it will not be cleaned or repaired.
- Designing only for today. Racking heights change, and lighting layouts that allow for that are cheaper to live with.
Lighting the Loading Dock and Apron
The dock is the part of a warehouse that behaves least like the inside of a warehouse. Doors stand open, trailers block the fixtures, and drivers need to see edges and wheel chocks rather than read a label. Wide distribution floodlights mounted on the wall above the doors generally work better than bay fixtures hung from the ceiling, because they can be aimed outward and downward at the same time.
For these transition zones, an asymmetric wide beam keeps light on the apron instead of throwing it at neighbouring properties, which matters in residential or mixed-use industrial parks. Our wide-angle integrated LED floodlights are built around exactly that requirement, with sealed housings that tolerate rain, dust, and the occasional nudge from a reversing trailer.
 Wide-Angle Integrated LED Floodlights for Large Open AreasA high-power COB floodlight with wide 120° beam and die-cast aluminum housing, useful for aprons, yards, and perimeter lighting at height.View Product →
The Yard, Perimeter, and Access Roads
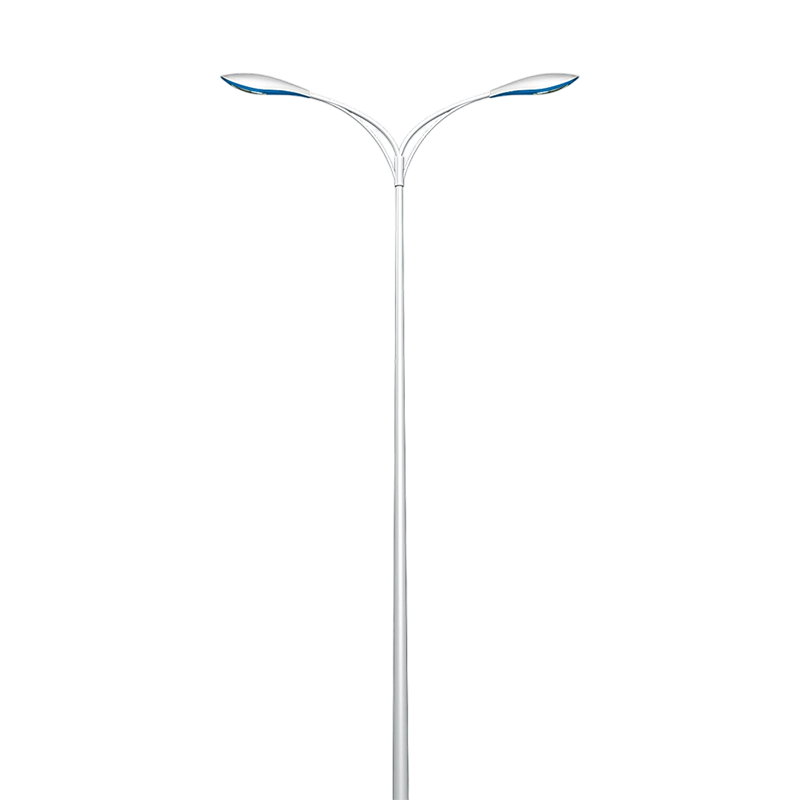
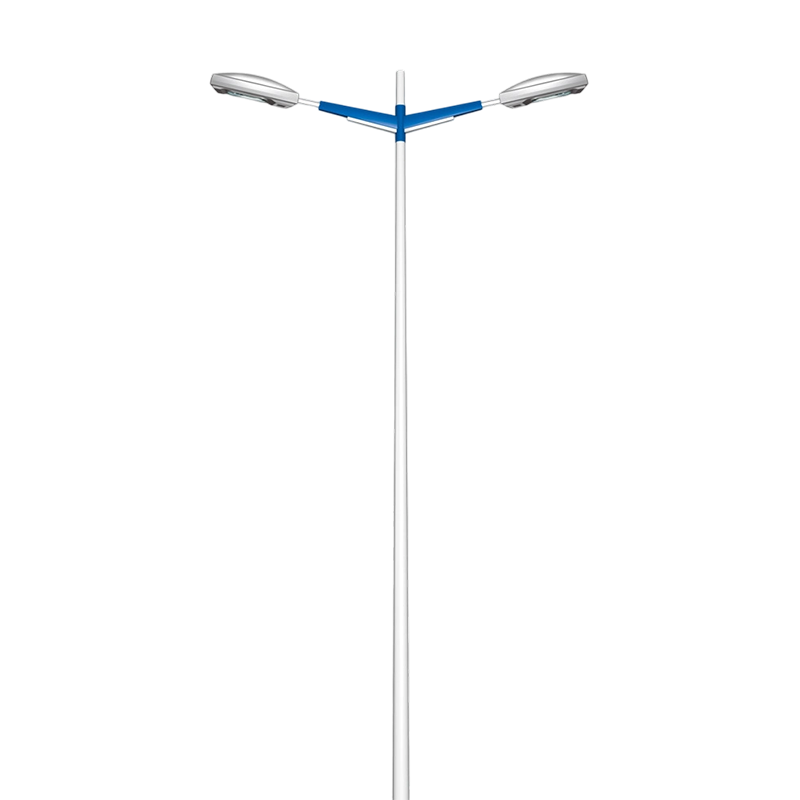
Once you step outside the building envelope, the design problem changes again. Trailer parks, container yards, and perimeter roads are large open areas where poles and high mast structures replace ceiling-mounted fixtures entirely. The trade-offs are familiar: light level, uniformity, and glare control, but the maintenance question becomes far more serious because everything happens at height.
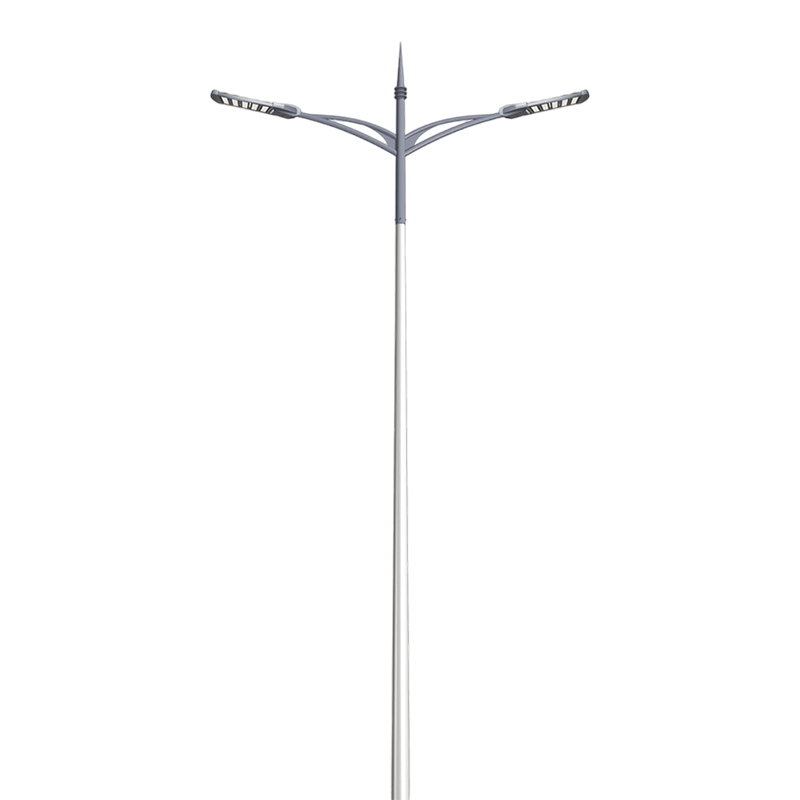
Retractable and tiltable masts exist for precisely this reason, and the choice between a high mast arrangement and conventional pole-mounted lighting depends on area size, obstruction, and how often crews need to lower the fittings. We compared these two approaches in more detail in our note on high mast versus traditional lighting for large open spaces.
Where a logistics yard needs blanket coverage across several hectares, ultra-high power high mast floodlights with tightly controlled optics are usually the most practical answer, since they concentrate output at ground level and cut the spill that annoys nearby roads and homes.
A Simple Way to Decide
- Measure the mounting height and note the racking height, aisle width, and any mezzanines.
- Set a target illuminance for the floor based on the tasks performed in each zone.
- Choose the fixture family: low bay below roughly 20 feet, high bay above it.
- Select the beam angle that matches the aisle geometry, then size the wattage to hit the target.
- Lay the fixtures out on the plan, check uniformity, and only then compare quotes.
None of this is complicated, but it is easy to skip, and skipping it is what produces warehouses with bright spots under the fixtures and dark corners at the ends of the aisles. Whether the answer turns out to be high bay, low bay, or a mix of both, the goal is the same: even, comfortable light that lets people work safely and keeps the electricity bill predictable.
If you would like a second opinion on a layout, or need fixtures that match the conditions of your building rather than a generic catalogue page, our team is happy to look at your plan and talk through the options.