


JINYUAN
JINYUAN
JINYUAN
JINYUAN
JINYUAN
JINYUAN
JINYUAN
JINYUAN
JINYUAN
JINYUAN
JINYUAN
JINYUAN
JINYUAN
JINYUAN
JINYUAN
JINYUAN
Content
- 1 Why winter shortens solar charge time
- 2 The first three steps to fix most winter charging problems
- 3 How to top up a solar light when natural light is not enough
- 4 What commercial buyers should check before winter
- 5 All-in-one or split-type: which survives winter better
- 6 Smart features that compensate for short winter days
- 7 Final winter charging checklist
In January, a 60 W solar street light that ran from dusk to dawn in July may switch off at 10 p.m. That is not a manufacturing defect. Shorter daylight, a lower sun angle, and cold battery chemistry all reduce the energy a solar panel can collect. The answer to "how to charge solar lights in winter" combines three steps: clean the panel, tilt it toward the low sun, and let the battery and controller do their job. This guide explains why those steps matter and how to apply them on both small garden lights and commercial street lights.
Why winter shortens solar charge time
A solar panel in direct summer sun generates rated current for 6-8 hours a day. In December, the same panel might produce useful power for only 3-4 hours, at lower intensity. The sun sits lower in the sky, so a fixed horizontal panel sees the light at a less favorable angle.
Batteries add another layer. A lead-acid battery at 0°C loses roughly 35% of its usable capacity compared with 20°C. Lithium iron phosphate batteries lose only 10-15% in the same conditions. The practical result for a street light in a northern climate is a runtime drop from 12-14 hours in summer to 5-8 hours in winter.
This seasonal reality is not a reason to avoid solar lighting. It is a reason to choose components that can handle the conditions, and to follow a simple maintenance routine.
| Metric | Summer (June) | Winter (December) |
|---|---|---|
| Average daily solar irradiance | 5.5-6.0 kWh/m² | 1.5-2.5 kWh/m² |
| Effective charge time | 6-8 hours | 3-4 hours |
| Usable battery capacity at 0°C | 85-100% | 65-85% |
| Typical lighting runtime | 12-14 hours | 5-8 hours |
The first three steps to fix most winter charging problems
Before trying anything unusual, handle the basics. Most solar lights that underperform in winter recover after three actions.
1. Clean the panel surface
Snow, dust, and road grime can reduce panel output by 30-50%. For street lights, winter road spray leaves an oily film on the glass. Use a soft cloth with mild detergent, then rinse. Avoid metal scrapers and never pour warm water on a very cold panel: thermal shock can crack tempered glass.
2. Reposition the angle and clear shade
In northern regions, set the panel tilt between 45° and 60° from horizontal for winter. That is steeper than the typical summer 15-30° and aims the panel toward the low sun. Re-check the shading pattern after trees drop leaves or after a new building appears; winter shade can be different from summer shade.
3. Switch off the light and allow a full charge
If the light has run on partial charge for several days, the battery may be at only 30-50%. One sunny day will not bring it back. Disconnect the load for 72 hours, if possible, so the battery can absorb a complete charge. This is especially useful for lead-acid systems.
How to top up a solar light when natural light is not enough
Clear winter days can still charge a solar light if the panel is clean and angled correctly. For long cloudy spells and for indoor storage, use a secondary method. A mirror or white reflective board placed at 45-75° can add 10-30% more light in foggy or shaded sites, which is enough to get through a short overcast period.
Artificial light is less effective. A fluorescent tube is the best indoor option because its spectrum overlaps with a solar panel's absorption band, but even 8 hours under a 60 W fluorescent lamp may reach only 40-60% of full charge. Incandescent and halogen lamps emit more infra-red than useful visible light. LED bulbs often produce a voltage too low to trigger the charge controller. A mains-powered battery adapter is more reliable, but it must match the battery voltage and controller.
| Method | Practical effectiveness | Best use case |
|---|---|---|
| Direct winter sun with clean panel | 100% | Outdoor installations in clear weather |
| Clean panel plus steeper tilt | 70-90% | Everyday maintenance |
| Reflective surface (mirror) | 10-30% boost | Foggy or shaded sites |
| Fluorescent lamp | 50-70% | Indoor backup |
| Incandescent or halogen | 30-50% | Short-term emergency |
| LED lamp | 20-40% | Last resort |
What commercial buyers should check before winter
For a public lighting project, specification choices matter more than any single cleaning step. Three parameters decide whether a solar street light delivers on a January night.
First, battery chemistry. LiFePO4 holds more usable capacity at -10°C than sealed lead-acid. Second, autonomy. A good winter specification provides 3-4 days of stored energy. Third, the charge controller. A controller with temperature compensation or MPPT extracts more power from a weak panel. PWM controllers are cheaper but less effective in low light.
Split-type systems make battery temperature easier to manage. The battery and controller can be placed in an insulated cabinet or below-ground enclosure near the pole base, which stays warmer than the luminaire head. This is why split-type solar street lights are common in northern and high-altitude projects. The wind-resistant and waterproof design keeps rain, snow, and condensation out of the battery compartment.
 Durable Split-Type Solar Street Light for Cold ClimatesA split-type design separates panel, battery, and LED for easy maintenance. This wind-resistant and waterproof fixture ensures reliable operation in harsh weather, making it ideal for northern and high-altitude projects where thermal management is critical.View Product →
All-in-one or split-type: which survives winter better
All-in-one solar street lights integrate the panel, battery, LED, and controller into a single head unit. Installation is simpler and the pole looks cleaner. Their winter weakness is thermal management because the battery sits directly above the LED and is exposed to night sky and wind chill.
Split-type lights keep the panel separate from the battery cabinet. The panel angle can be optimized for the low winter sun without moving the luminaire, and the battery can be buried where the surrounding soil provides insulation. In deep winter, split-type wins. In mild climates, all-in-one is a viable clean solution. The trade-off is directly related to winter runtime, and more detail is available in this comparison of all-in-one versus split-type solar street lights. Pros and cons of all-in-one vs split-type solar street lights
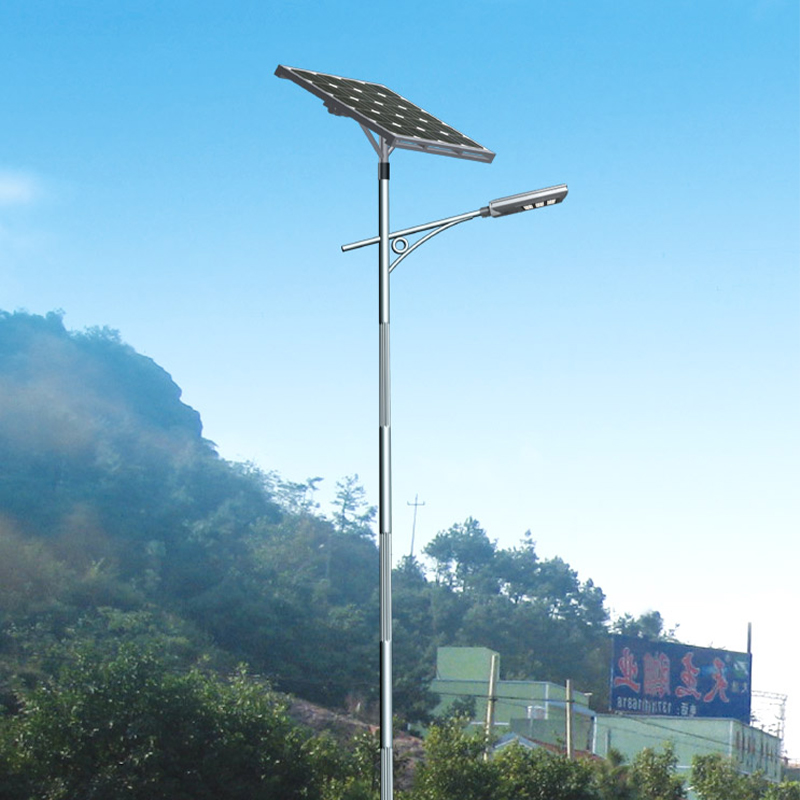 Adaptive All-in-One Solar Street Light with Smart DimmingThis all-in-one solar street light features adaptive dimming and MPPT technology, optimizing energy use. Its integrated design simplifies installation while providing extended runtime, making it a practical solution for areas with limited grid access.View Product →
Smart features that compensate for short winter days
A smart controller can plan around limited charge. Many modern solar street lights offer adaptive dimming, which sets a brighter level in the evening and reduces output after midnight. When the battery was low on a December Tuesday, the controller can lower power consumption on the following night, extending visible lighting time and preventing deep discharge.
Some controllers also record panel voltage and battery temperature, letting you identify a failing panel before the light goes dark. For a single street light, this logic means a 20-30% reduction in power for the first hour of the night, which keeps the road lit much longer.
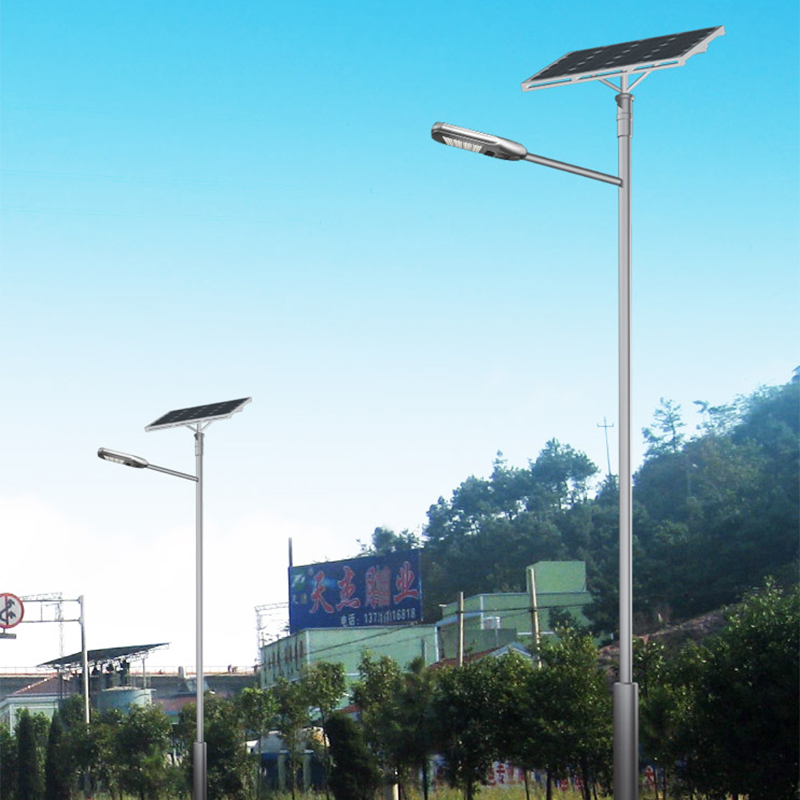 Integrated Solar Smart Streetlight with Intelligent ControlThis integrated solar streetlight combines monocrystalline panels, lithium batteries, and LED modules in a durable aluminum housing. With IP66 protection and smart controller capabilities, it ensures efficient operation in winter conditions, adjusting power to extend lighting time.View Product →
Final winter charging checklist
- Clean the panel surface at least once a week in winter; remove snow with a soft brush.
- Set panel tilt to 45-60° for winter in northern latitudes.
- Cut back branches that create new shade after autumn.
- Let the battery charge fully for 72 hours after a long cloudy spell.
- Use a mirror or reflective board to add 10-30% more light on overcast days.
- Choose LiFePO4 batteries and 3-4 days of autonomy for cold climates.
- Use a split-type design when freezing temperatures threaten the battery.
- Specify a smart controller with adaptive dimming and temperature monitoring.
Solar lighting still works in winter. Clean the panel, tilt it toward the low sun, protect the battery from freezing, and let the controller adapt. That is the complete answer to "how to charge solar lights in winter."